





Why Most Patients Get This Wrong Before They Even Leave the Hospital
Here's the reality that catches most families off guard: 50–70% of healthy hip replacement patients under age 75 now go home the same day as surgery. There is no multi-day hospital stay to figure things out. You walk through your front door hours after a major joint replacement, and your home either works for you or it doesn't.
The instinct is to grab a pair of crutches and a heating pad. What actually matters on Day 1 is a raised toilet seat, a properly fitted walker, and a way to sit down and stand up without violating your hip precautions. These aren't comfort items. They're safety essentials.
Hip replacement recovery moves through three distinct phases: acute (weeks 1–2), sub-acute (weeks 2–12), and long-term (months 3–12). Your equipment needs shift at each stage. This guide walks you through exactly what to have ready on Day 1, what to add in Week 2, and what you can safely phase out by Week 6. Occupational therapists recommend ordering all critical equipment at least two weeks before your surgery date so everything is installed and tested before you come home.
Understanding Hip Precautions and Why They Drive Every Equipment Decision
Every piece of equipment on this list exists because of hip precautions: the movement restrictions your surgeon prescribes to protect the new joint while surrounding tissues heal. If you had a posterior approach surgery, the rules are strict and immediate: no bending the hip past 90 degrees, no crossing your legs, no rotating the hip inward, and no reaching toward the floor.
Patients who had an anterior approach typically face fewer or shorter-duration restrictions. Pivoting, twisting, and hyperextension are still off-limits during early recovery, but bending and crossing restrictions may be lifted sooner. A randomized controlled trial published in The Lancet Rheumatology (2021) found that anterior-approach patients stopped using assistive devices a median of 9 days earlier than posterior patients. By 3 months, outcomes between the two groups converged. The takeaway: equipment needs are largely the same regardless of approach; the duration of use may differ.
Consider a standard toilet. The moment you sit on a typical 15-inch toilet seat, your hip drops well below 90 degrees of flexion. That's not a comfort problem. It's a precaution violation that risks dislocation. This is why equipment selection after hip replacement is a clinical decision, not a personal preference.
One more factor worth noting: robotic-assisted hip replacement surgeries have increased 55% over the past three years, and minimally invasive techniques continue to grow. These procedures may come with modified precaution protocols. Always confirm your specific restrictions with your surgeon before finalizing your equipment list.
Phase 1 — Day 1 Through Week 2: The Non-Negotiables
The first 6–12 weeks after hip replacement carry the greatest fall risk, and the bathroom is where the danger concentrates. According to CDC data cited in published research, 68% of bathroom injuries among older adults occur at the shower or tub, and 22.5% occur at the toilet. About 36 million older adults fall each year in the U.S., and more than 95% of hip fractures are caused by falling. These numbers make bathroom safety equipment medically essential from Day 1.
Raised Toilet Seat
This is the single most critical piece of equipment. The recommended post-surgical toilet height is 17–19 inches from the floor (including any riser), which keeps the hip joint at or above knee level. A standard toilet falls several inches short of that. Install this before surgery, not after.
Walker
A walker is the standard starting mobility aid for nearly all hip replacement patients, regardless of surgical approach. It must be properly height-adjusted before you leave the hospital. Too high or too low, and you'll compensate with posture changes that stress the new joint.
Tub Transfer Bench
Stepping over a tub edge requires the exact pivoting and rotation that hip precautions prohibit. A transfer bench lets you sit on the outside edge of the tub and slide across without twisting or lifting your leg over the rim.
Hip Kit
A hip kit typically includes a reacher/grabber, sock aid, dressing stick, long-handled shoehorn, and long-handled bath sponge. These tools address the biggest daily challenge of recovery: getting dressed, bathing, and picking things up without bending past 90 degrees.
Nighttime Safety System
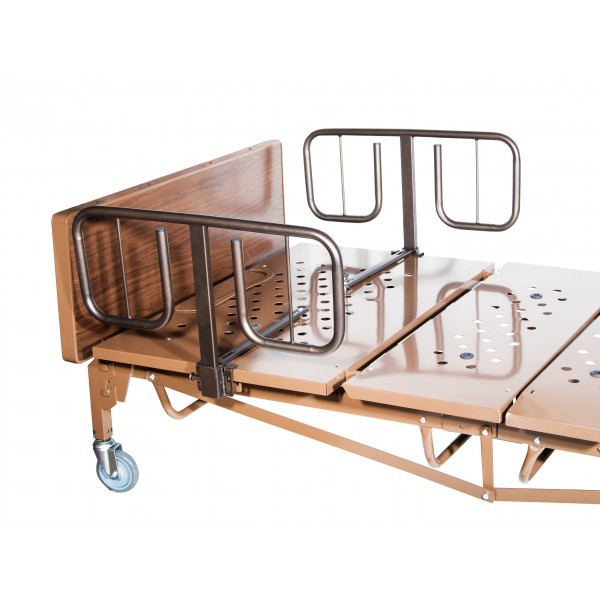
Getting to the bathroom at night is one of the highest-risk moments during recovery. A bedside commode eliminates the trip entirely. A bed rail provides sit-to-stand support. Motion-activated night lighting prevents stumbles in the dark. These three items work as a coordinated system, not optional add-ons.
Grab Bars
Permanent or tension-mounted grab bars in the bathroom are essential for safe toilet and shower transfers from Day 1. They provide the stable handhold that towel bars and shower doors cannot.
Phase 2 — Weeks 2 Through 6: Adding Comfort and Reducing Strain
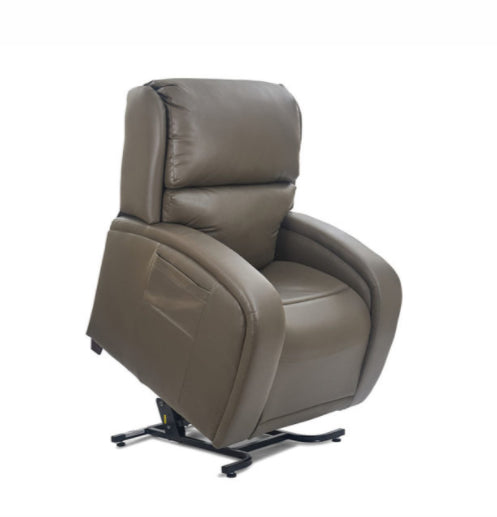
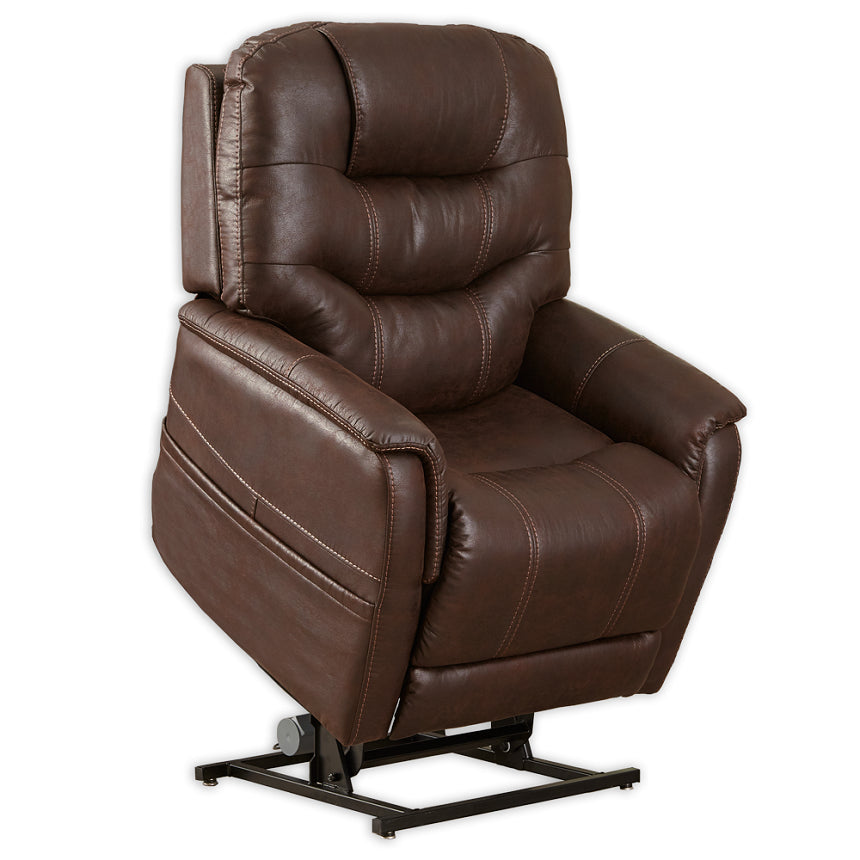
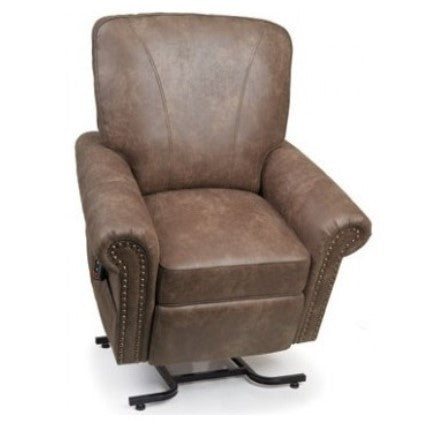
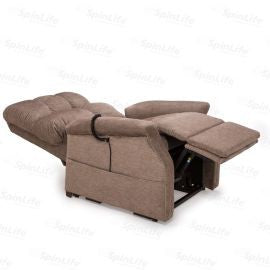
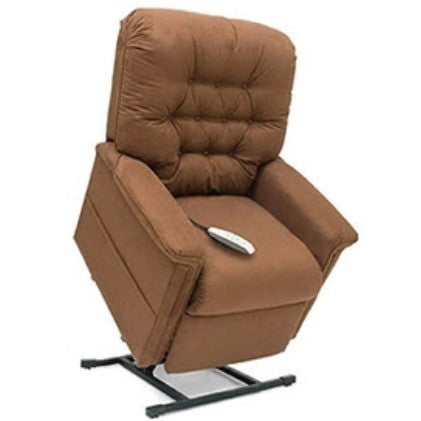
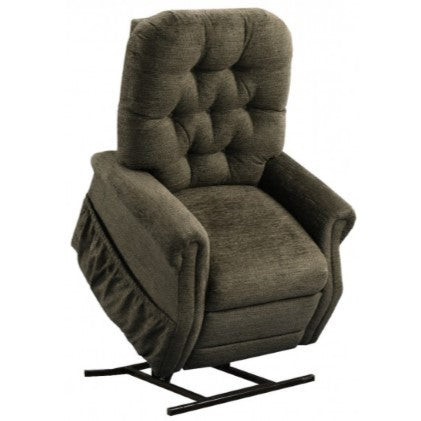
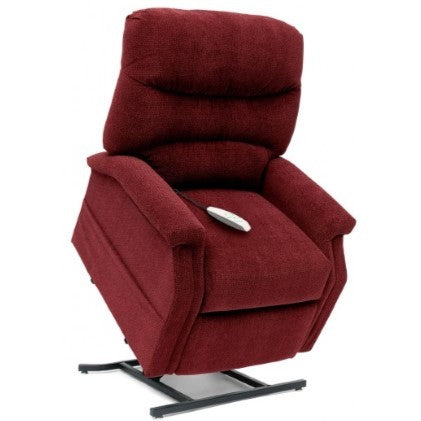
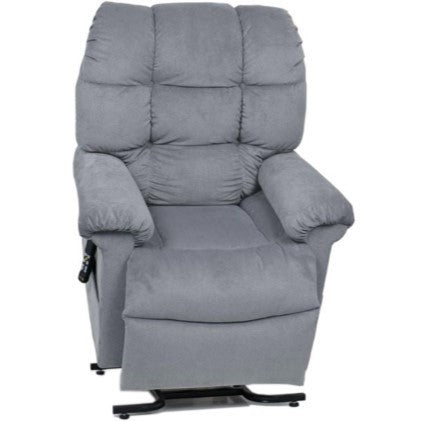
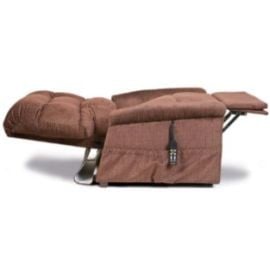
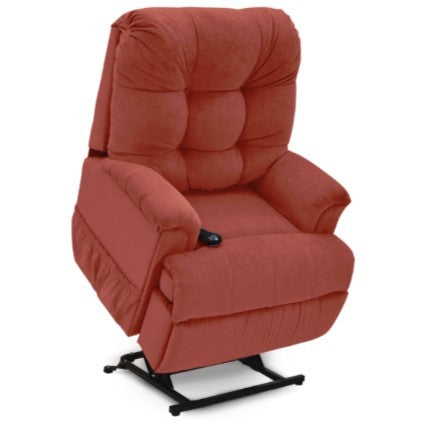
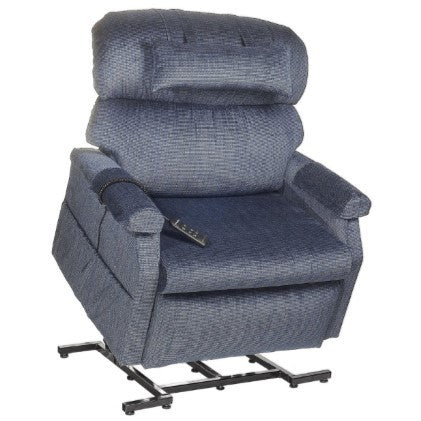
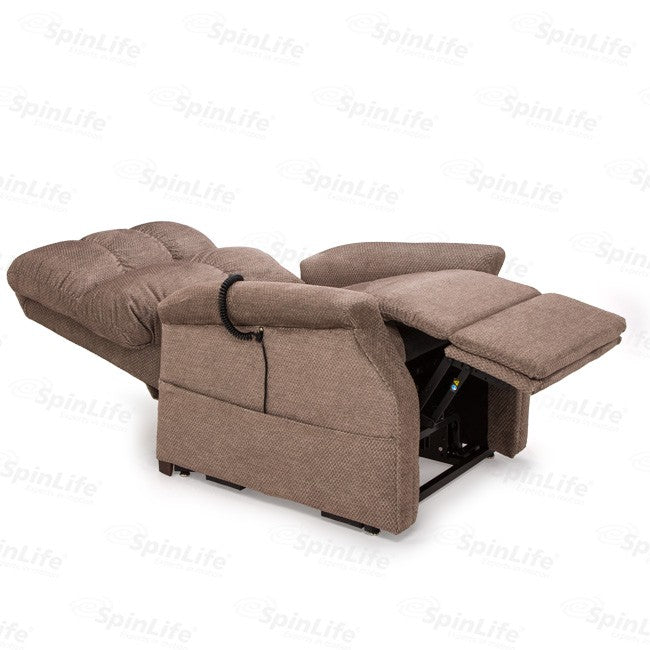
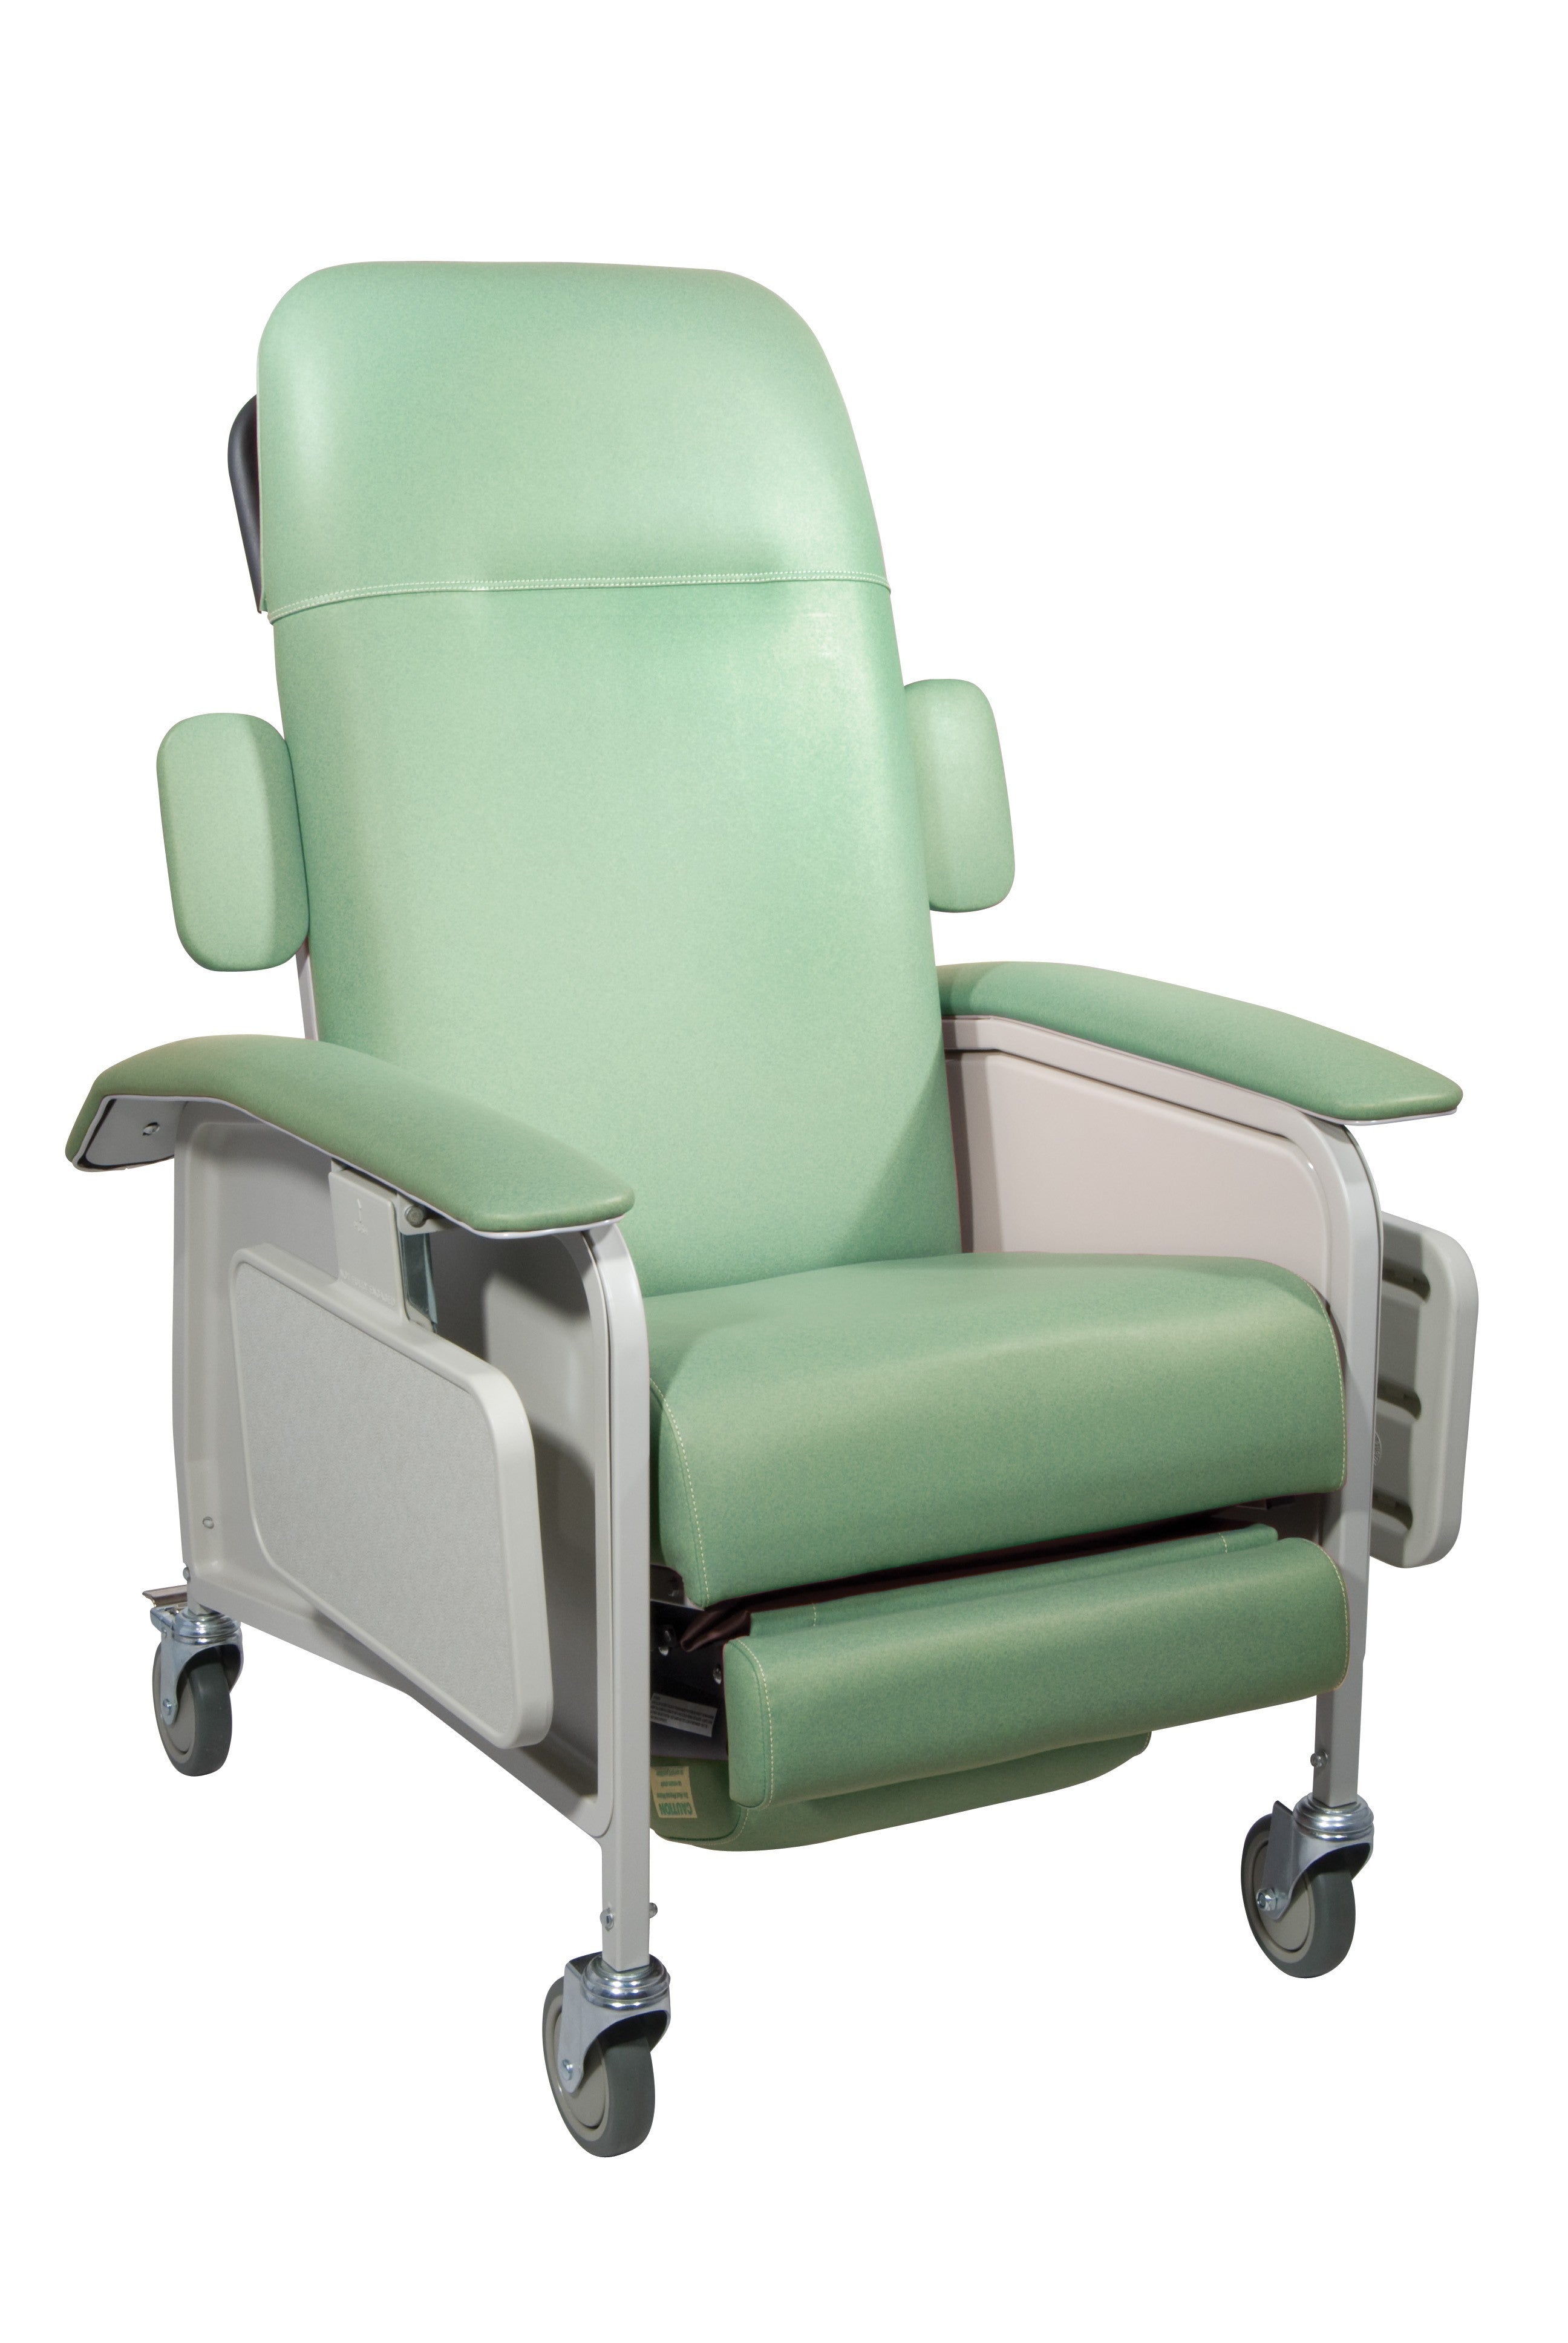
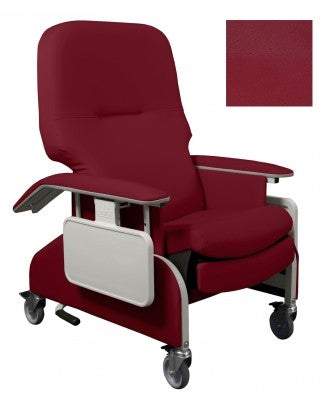
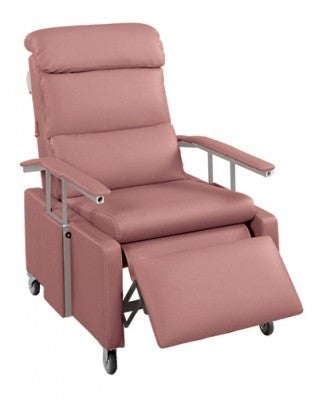
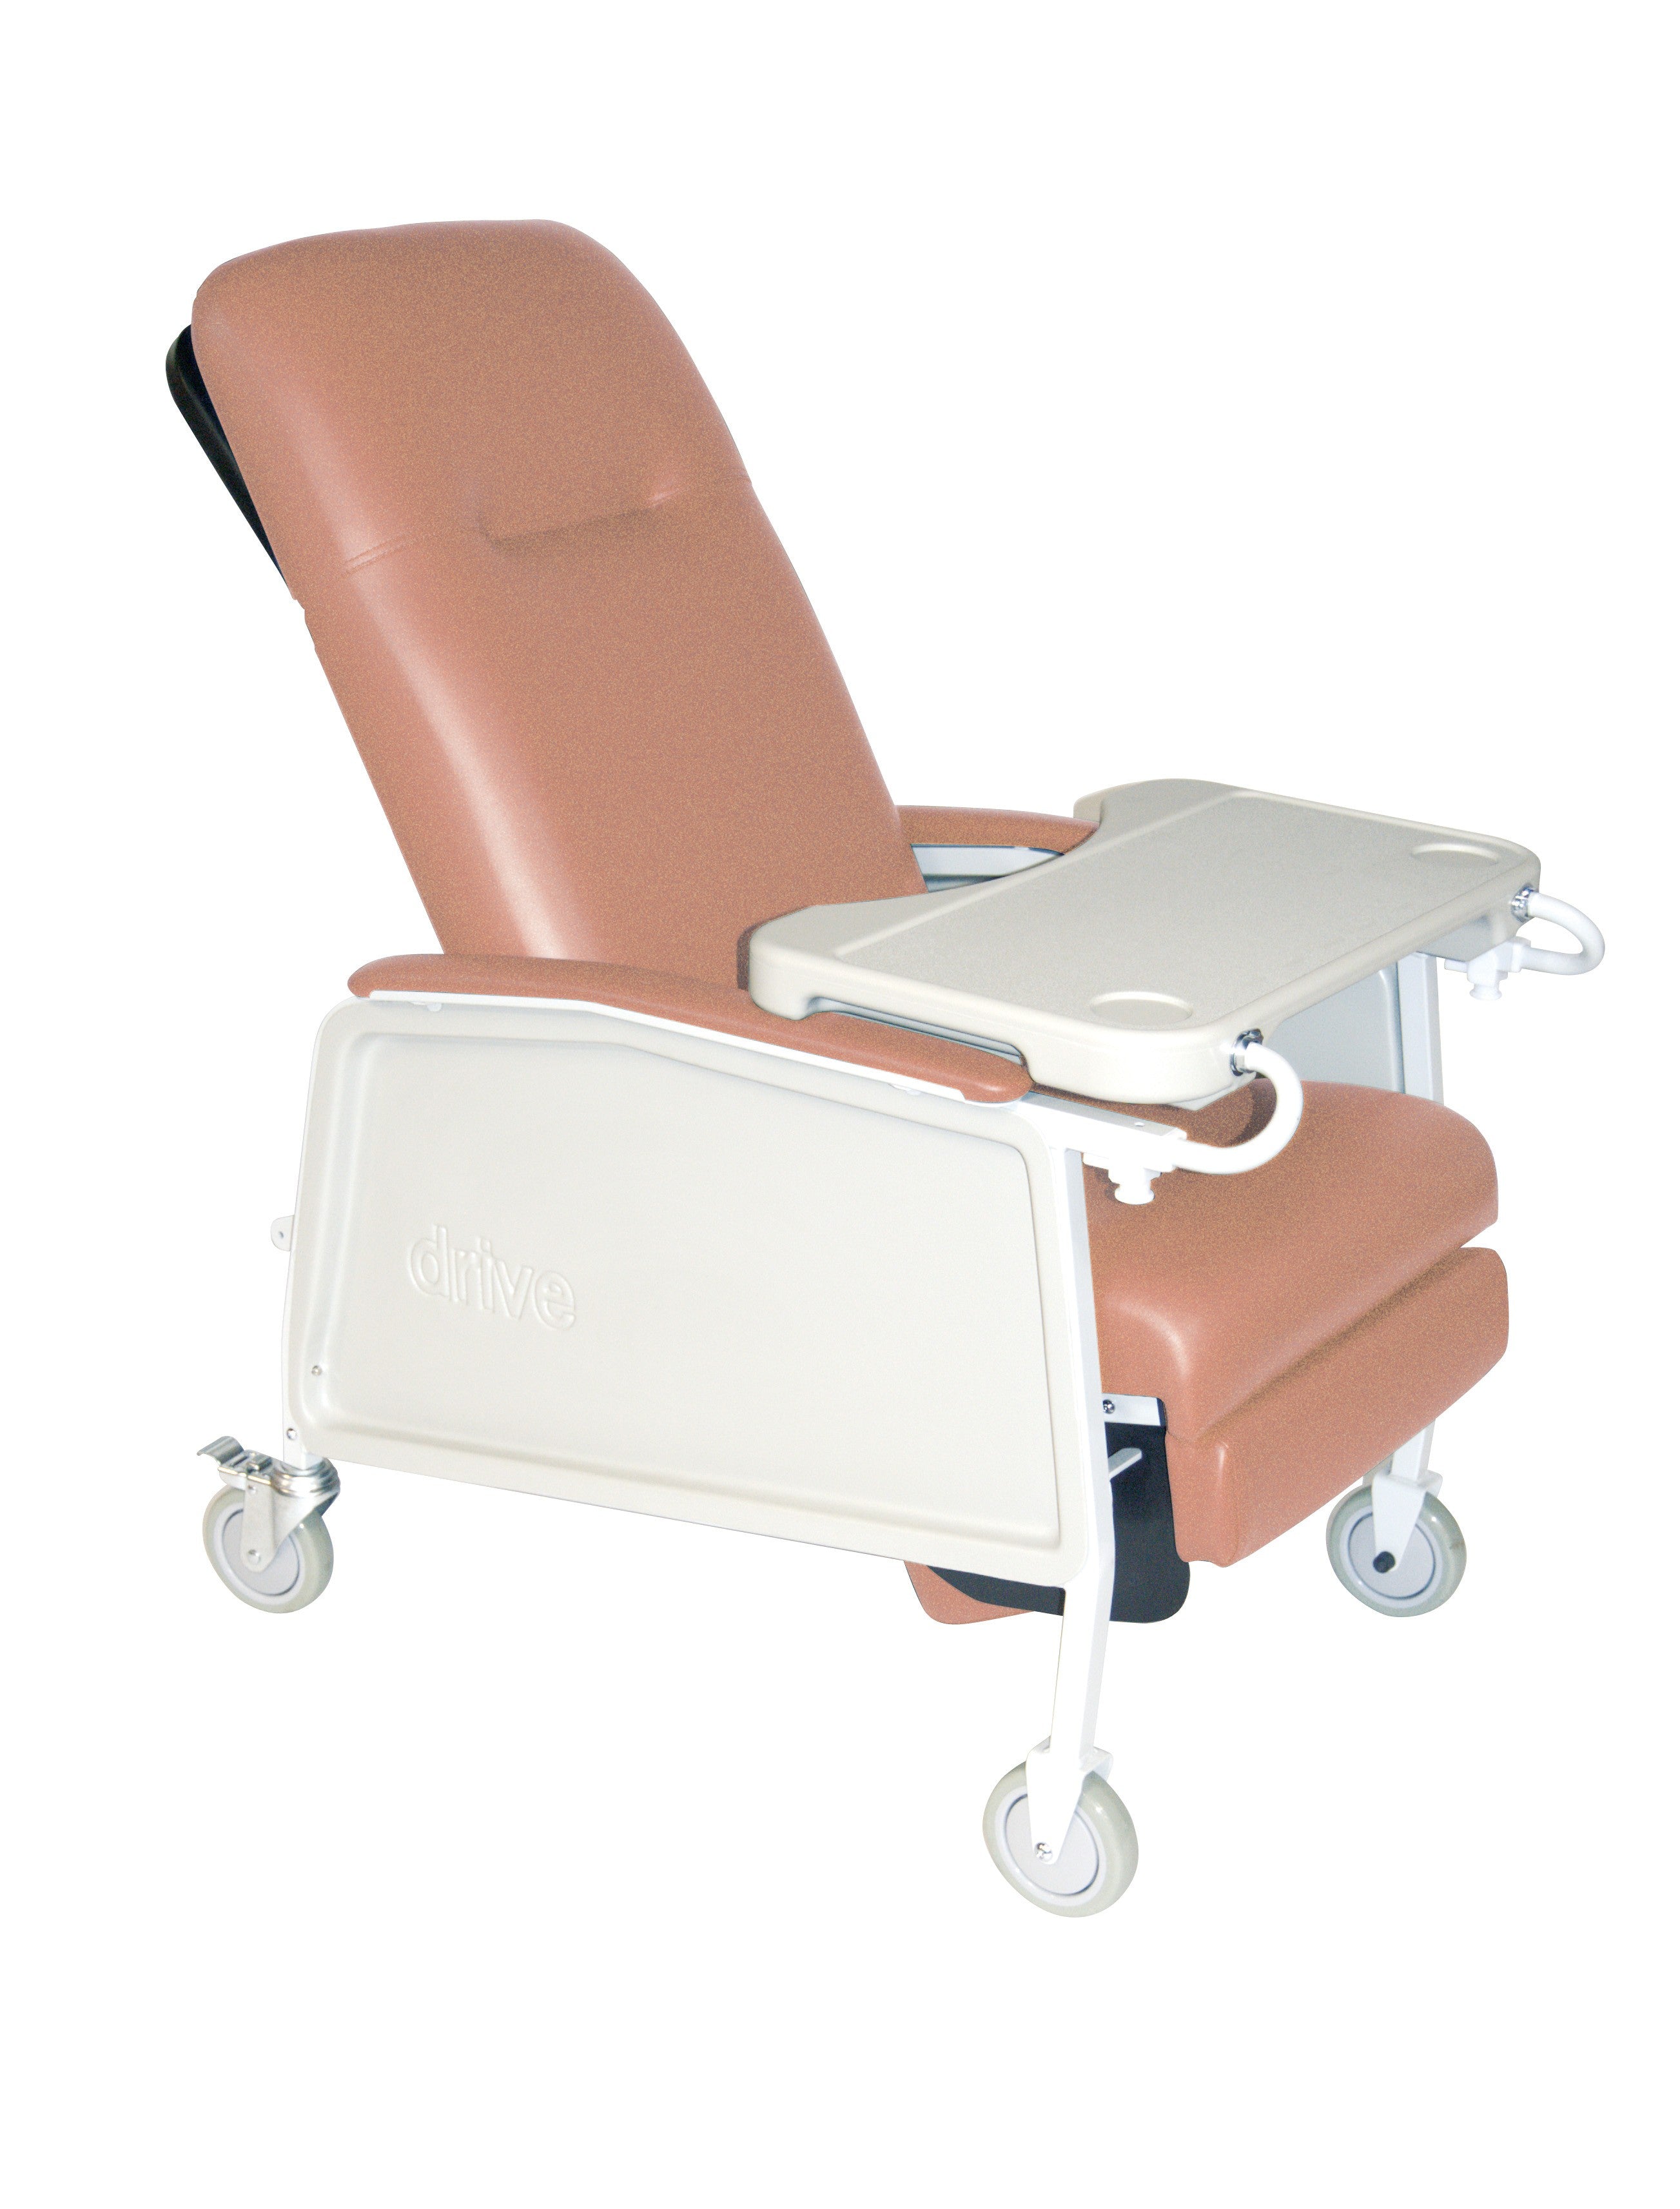
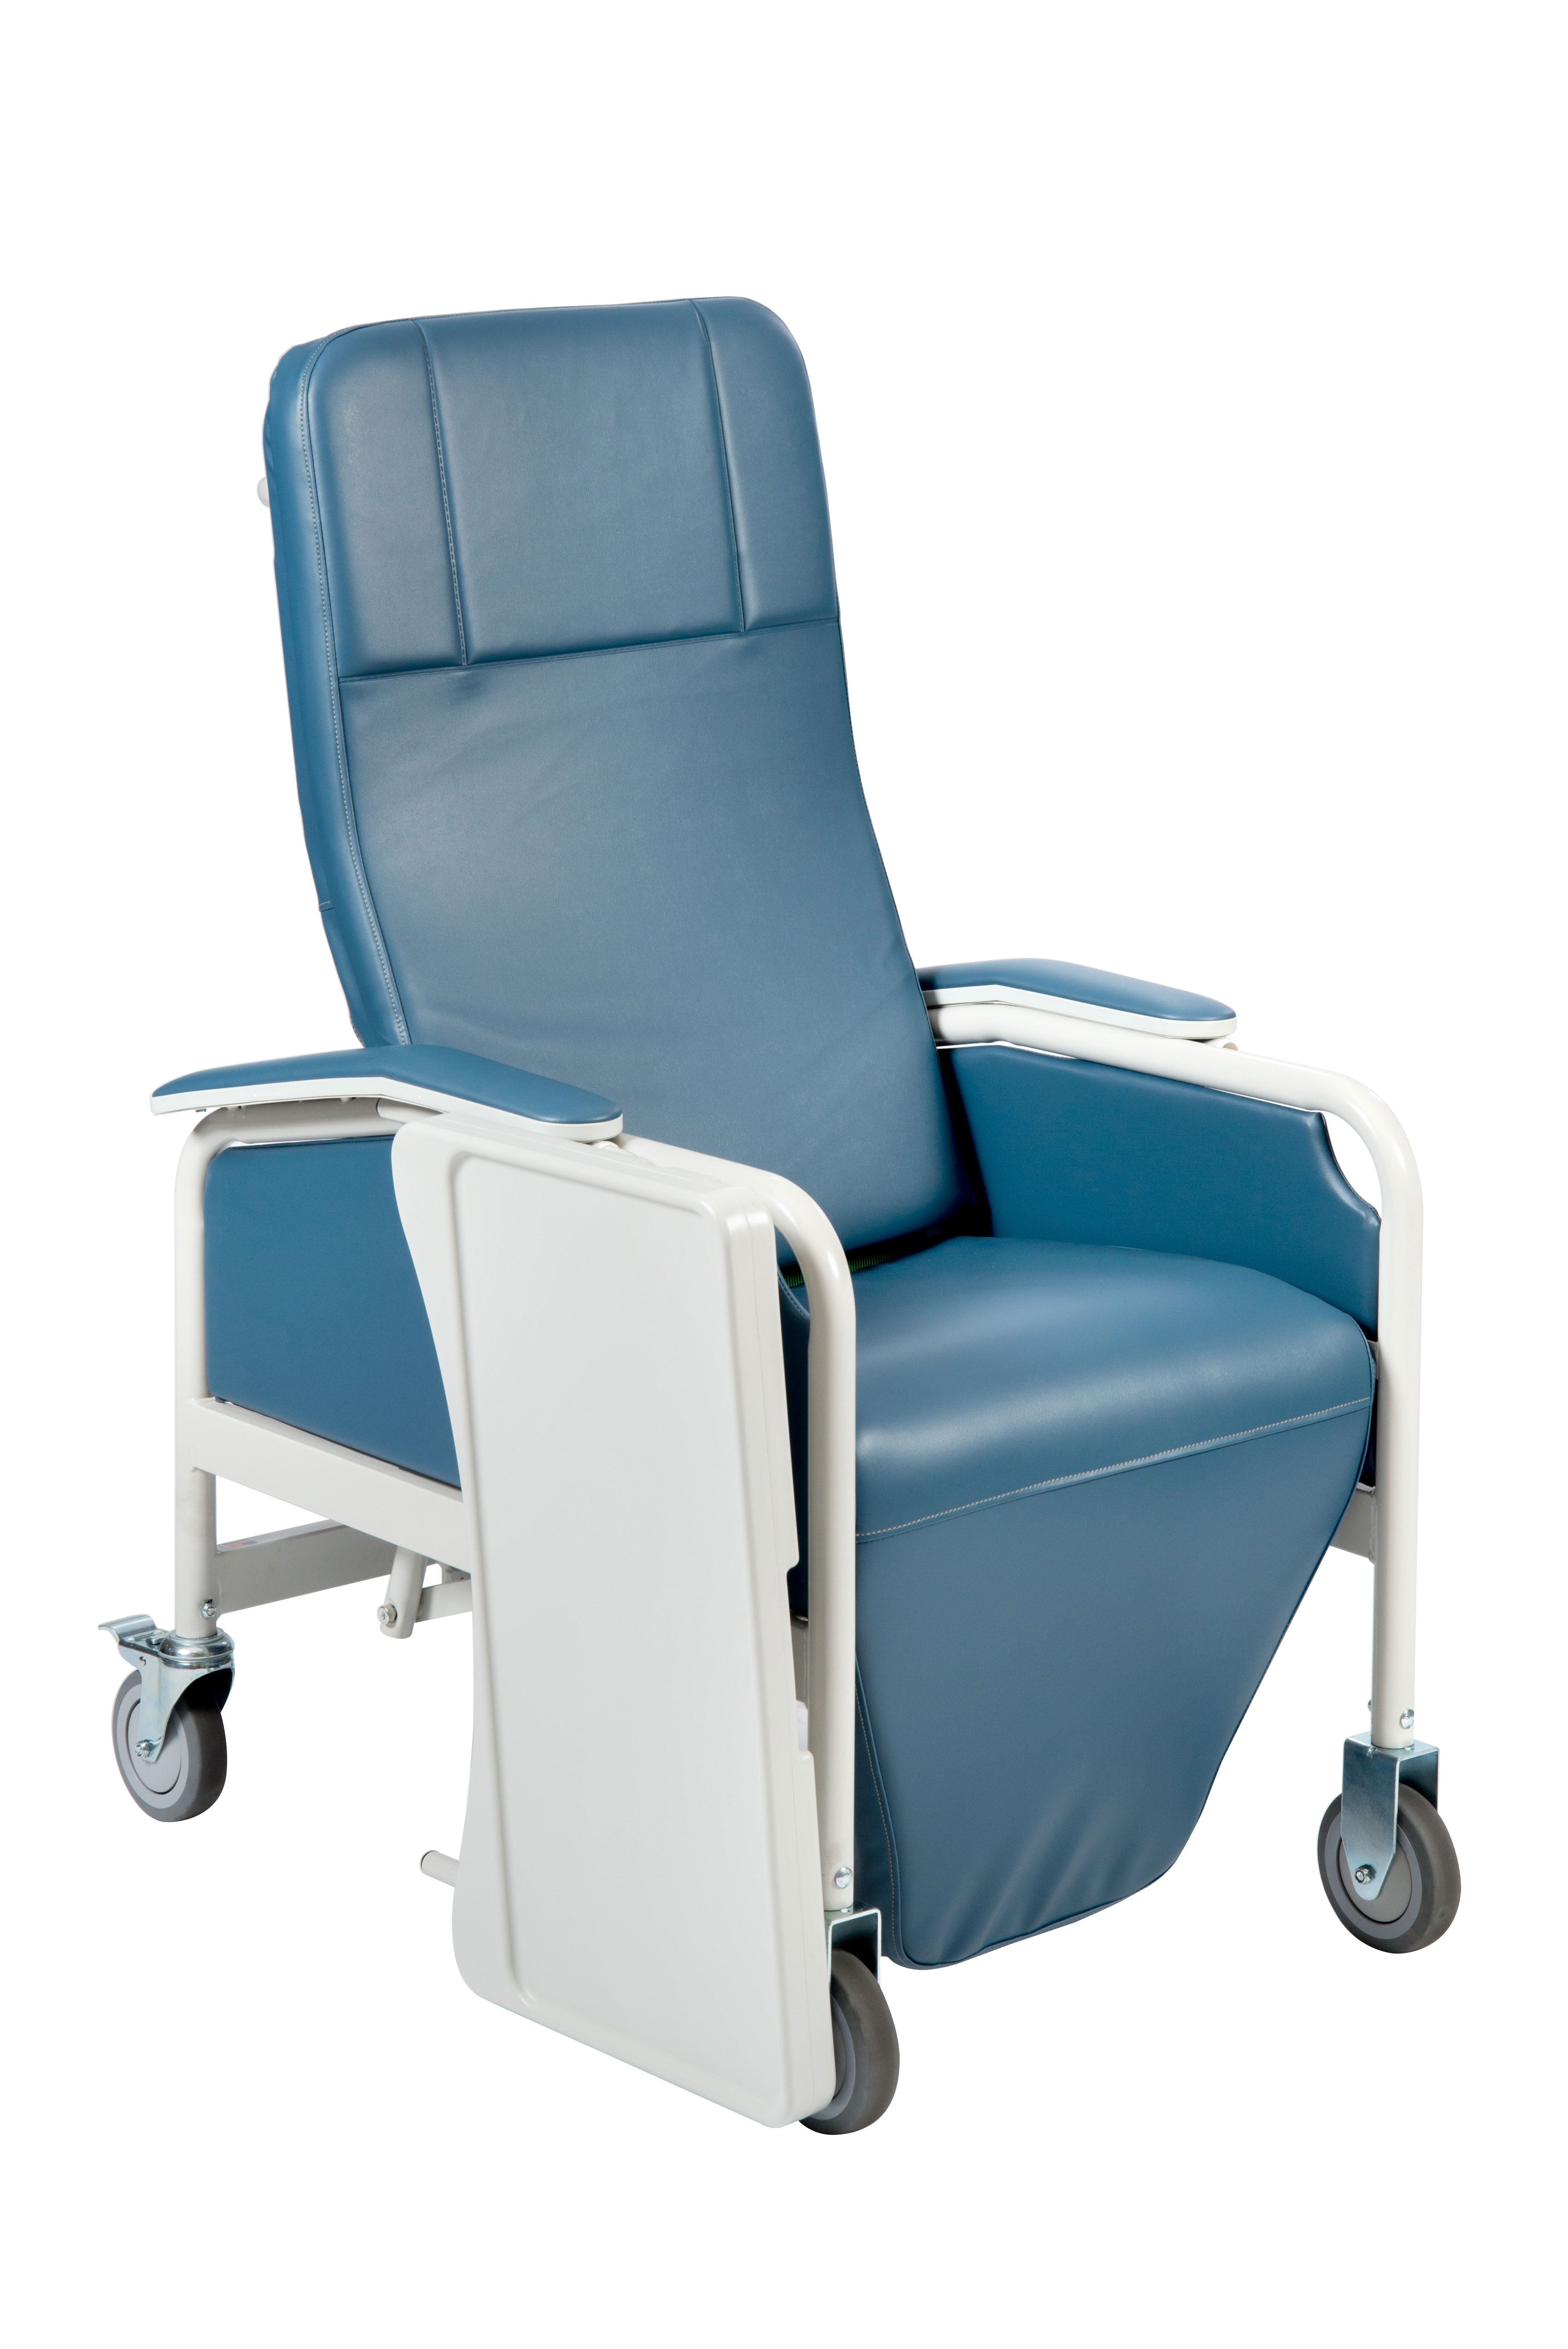
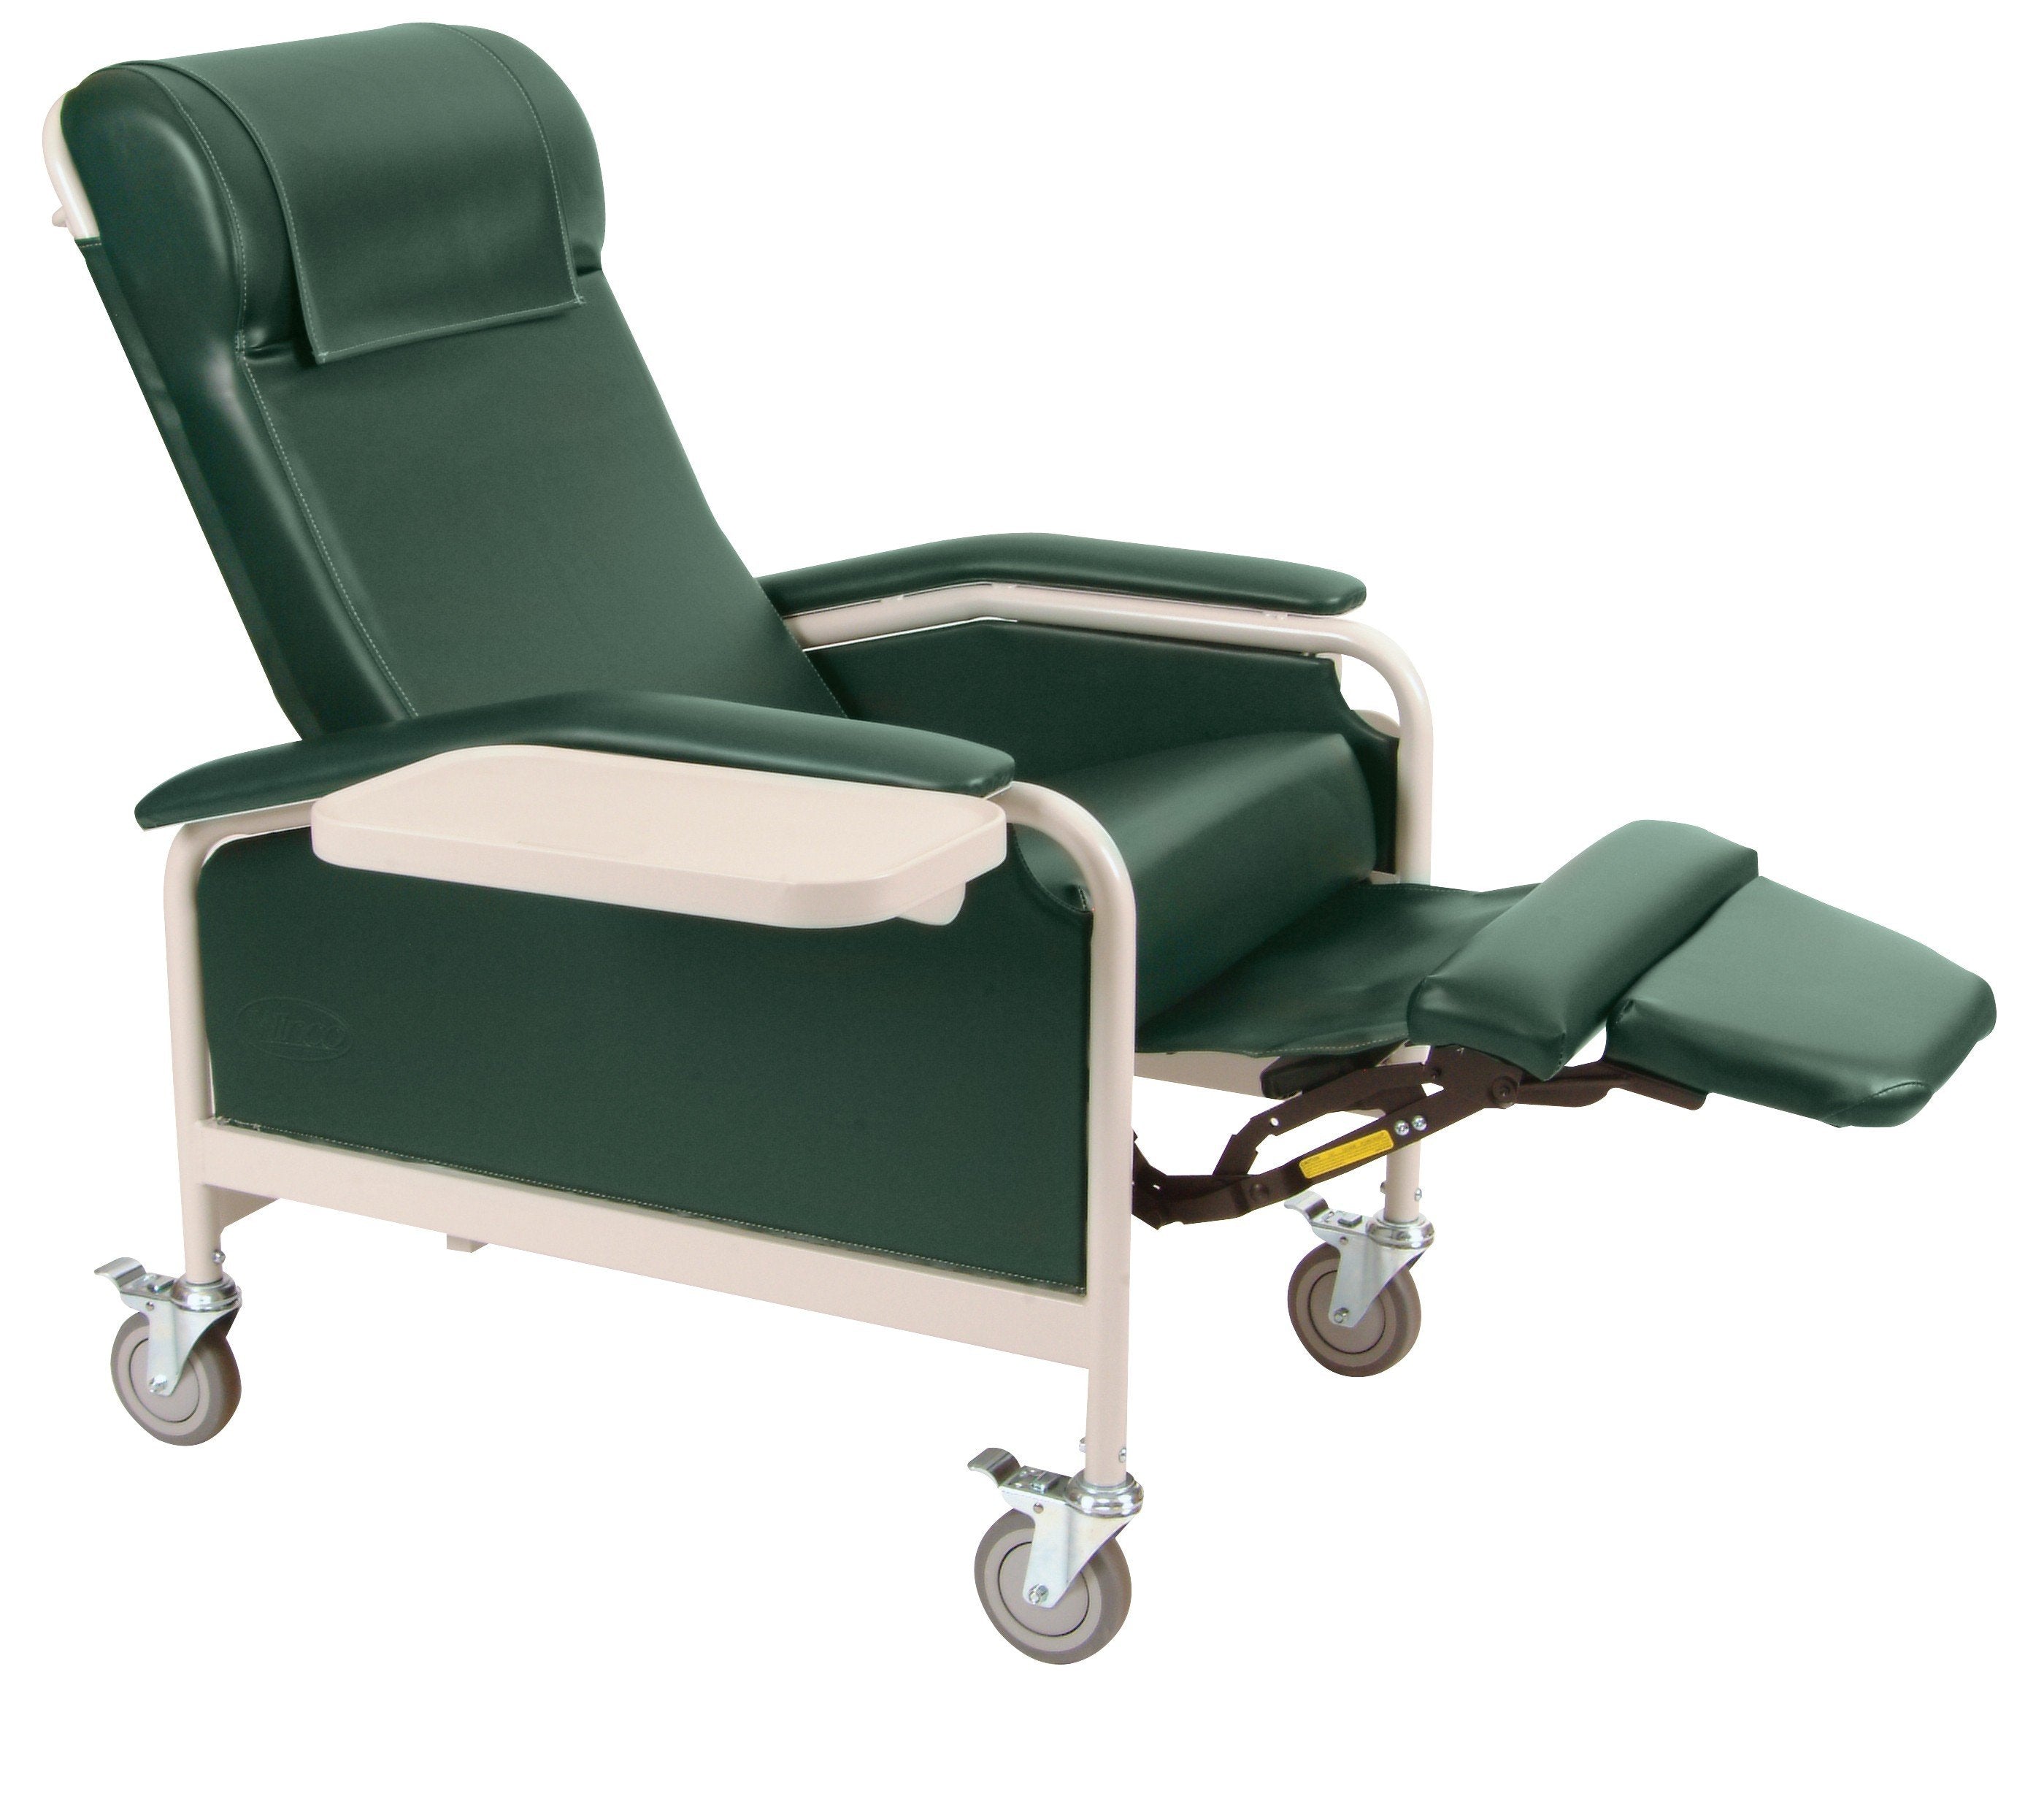
Power Lift Chair
Some patients acquire a lift chair before surgery, but it becomes the centerpiece of daytime recovery during weeks 2–6. A power lift chair raises the user to near-standing position before weight-bearing begins, directly preventing the most common precaution violation: dangerous hip flexion during sit-to-stand transitions.
Most hip surgery patients spend 6–12 weeks in a specialist chair at home, making height, armrest design, and lift capability a clinical decision. Chairs with higher and wider armrests reduce muscular effort and lower fall risk during transfers. American Quality Health Products carries a range of power lift chairs suited to different body types and budgets. Our live US-based product specialists can help match the right chair to a patient's weight, height, and home layout. That's a fit consultation, not a sales call.
Shower Chair Upgrade
As wound healing progresses, patients often transition from sponge baths to seated showering. Make sure the shower seating solution is stable, height-adjustable, and rated for the patient's weight.
Continued Use of Hip Kit and Dressing Aids
Long-handled grabbers and dressing aids remain essential throughout this phase. For posterior-approach patients, hip precautions are typically still in full effect during weeks 2–6.
A Note on Medicare Coverage
Medicare Part B covers prescribed durable medical equipment (walkers, crutches, commodes) when ordered by a physician through a Medicare-enrolled supplier. Most comfort and convenience items, including lift chairs, hip kits, and bath benches, must be purchased out of pocket. Budgeting for these items in advance prevents scrambling during recovery.
Phase 3 — Weeks 6 Through 12 and Beyond: Transitioning Out of Equipment
Walker to Cane
By weeks 5–8, most patients transition from a walker to a cane as balance and hip strength improve. This is a clinical milestone, not a patient-driven decision. Your surgeon or physical therapist should confirm you're ready before making the switch.
What You Can Phase Out
Raised toilet seats and tub transfer benches are typically used for 3–6 weeks post-surgery, or as long as hip precautions remain in effect. Hip kit tools can usually be retired as flexibility returns and your therapist clears you for normal bending.
What to Keep Long-Term
A lift chair and grab bars often retain value well beyond recovery, particularly for aging patients or those with other mobility considerations. These are investments in ongoing safety, not temporary rentals.
What to Do with Equipment After Recovery
Options include returning rented items, donating to local medical equipment lending programs, or keeping items that serve ongoing mobility needs. It's a practical consideration that most recovery guides never mention.
The long-term outlook is encouraging. 90–95% of patients report significant pain relief, and most achieve near-complete recovery within 3–6 months. However, 10–15% experience persistent postoperative pain that may require extended use of comfort and mobility equipment.
How to Audit Your Home Before Surgery (Not After)
Your home environment can either support your recovery or undermine it. Walk through these considerations at least two weeks before your procedure.
- Single-story vs. multi-story: If your bedroom is upstairs and your main bathroom is downstairs, plan to temporarily relocate your sleeping area to the ground floor for the first 2–4 weeks. Stairs and a fresh hip replacement are a difficult combination.
- Tub vs. walk-in shower: A walk-in shower with a removable shower chair is significantly easier to manage. If you have a standard tub, prioritize a transfer bench.
- Doorway widths and floor surfaces: Standard walkers and rollators need adequate clearance. Loose rugs, uneven thresholds, and power cords on the floor are fall hazards. Remove them before you come home from the hospital.
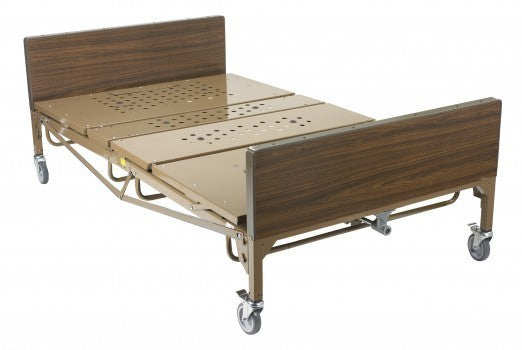
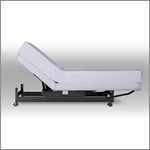
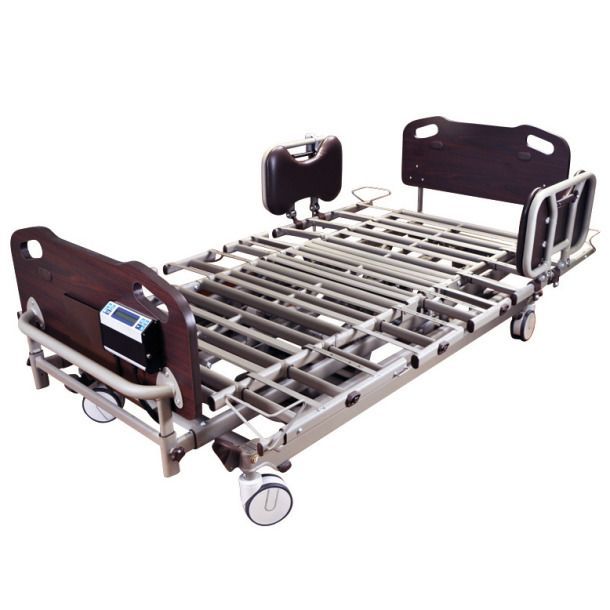
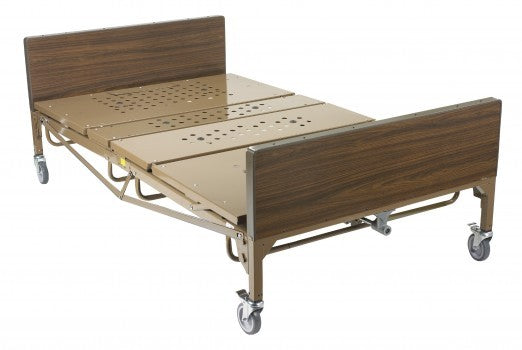
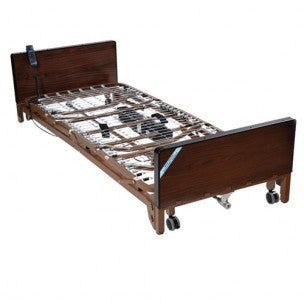
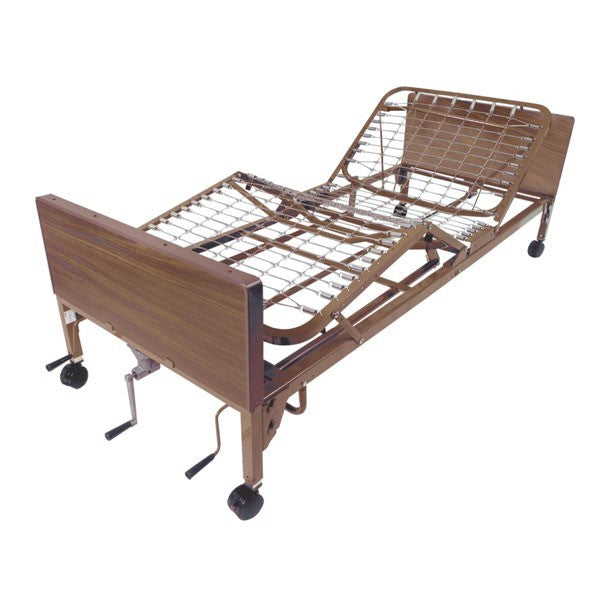
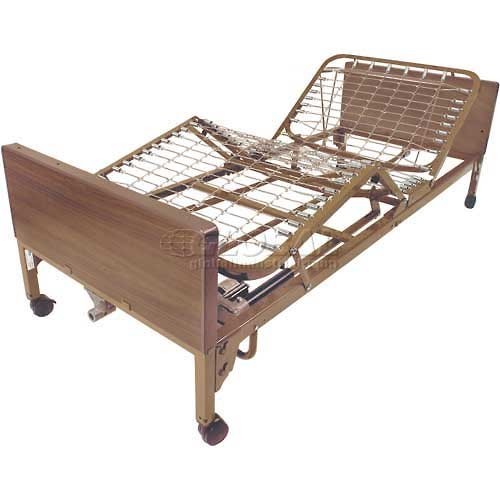
- Bed height: A bed that's too low creates the same dangerous hip flexion as a low toilet seat. Bed risers or an adjustable bed base may be needed to bring the sleeping surface to the right height.
Pre-surgical home preparation (sometimes called "prehab") has been shown to reduce hospital stays by approximately 1.5 days and leads to a safer, more manageable discharge experience. The two-week rule isn't arbitrary. It gives you time to install grab bars, test equipment, and solve problems before you're recovering from surgery.
Getting the Right Equipment Without Overspending
Start with the non-negotiables: raised toilet seat, walker, hip kit, grab bars, and tub transfer bench. These items are relatively affordable and cover the highest-risk scenarios. Allocate remaining budget to comfort items like a lift chair after the essentials are secured.
For Medicare beneficiaries, walkers, crutches, and commodes are typically covered when prescribed by a physician through a Medicare-enrolled supplier. Most other recovery items, including lift chairs, hip kits, and bath benches, are out-of-pocket expenses. Knowing this in advance prevents unpleasant surprises.
For larger purchases like power lift chairs, 100% financing through third-party providers can make higher-cost equipment accessible without delaying your recovery setup. Free shipping on orders over $100 and a lowest-price guarantee also reduce the financial friction of assembling a full recovery kit.
Before purchasing, especially for lift chairs, walkers, or bariatric-rated equipment, call a live US-based product specialist. With over 24 years of experience serving customers since 2001 and more than 5,000 verified reviews, our team can help ensure the right fit, weight rating, and configuration for the patient's specific needs and home layout. Getting the right equipment the first time is always cheaper than replacing the wrong item.
Your Hip Replacement Recovery Equipment Checklist at a Glance
Day 1–2 Essentials (have these ready before surgery):
- Walker (properly fitted)
- Raised toilet seat (17–19 inch total height from floor)
- Tub transfer bench
- Hip kit (reacher, sock aid, dressing stick, long-handled shoehorn, bath sponge)
- Bedside commode
- Bed rail
- Grab bars (bathroom)
- Motion-activated night lighting
Week 2–6 Additions:
- Power lift chair
- Shower chair (height-adjustable)
- Continued use of hip kit and raised toilet seat
Week 6+ Transitions:
- Cane (replacing walker, with therapist approval)
- Gradual retirement of raised toilet seat and transfer bench as precautions are lifted
- Evaluate what to keep long-term (lift chair, grab bars)
The numbers tell a reassuring story: 90–95% of hip replacement patients report significant pain relief, and most achieve near-complete recovery within 3–6 months. The right equipment, in the right order, is what makes those months manageable and safe. With hip replacement volumes projected to reach 2.17 million annually by 2040, the playbook for a successful home recovery has never been more clearly defined.
Sources
- OASC: Recovery Timeline for Hip Replacement Surgery
- AskSAMIE: Hip Replacement Recovery — The OT-Approved Equipment Guide
- OrthoProcedures: Direct Anterior vs. Posterior Hip Replacement
- WifiTalents: Hip Replacement Statistics Reports 2025
- Biology Insights: How High Should a Toilet Seat Be After Hip Replacement?
- APA Medical: Post-Surgery Supplies for Home Recovery
- SCOI: Total Hip Replacement Recovery Week by Week
- PubMed: Trends in Medicare Arthroplasty Procedure Volume — Projecting From 2025 to 2040


