


A shoe that is only slightly too tight can create a problem for a person with diabetes. Pressure at the toes, rubbing along the heel, or a cramped instep may lead to blisters, calluses, or skin breakdown before the wearer feels significant discomfort. Knowing how to size diabetic shoes is not simply about finding a familiar number on a box. It is about creating enough room, support, and protection for the way your feet look and feel today.
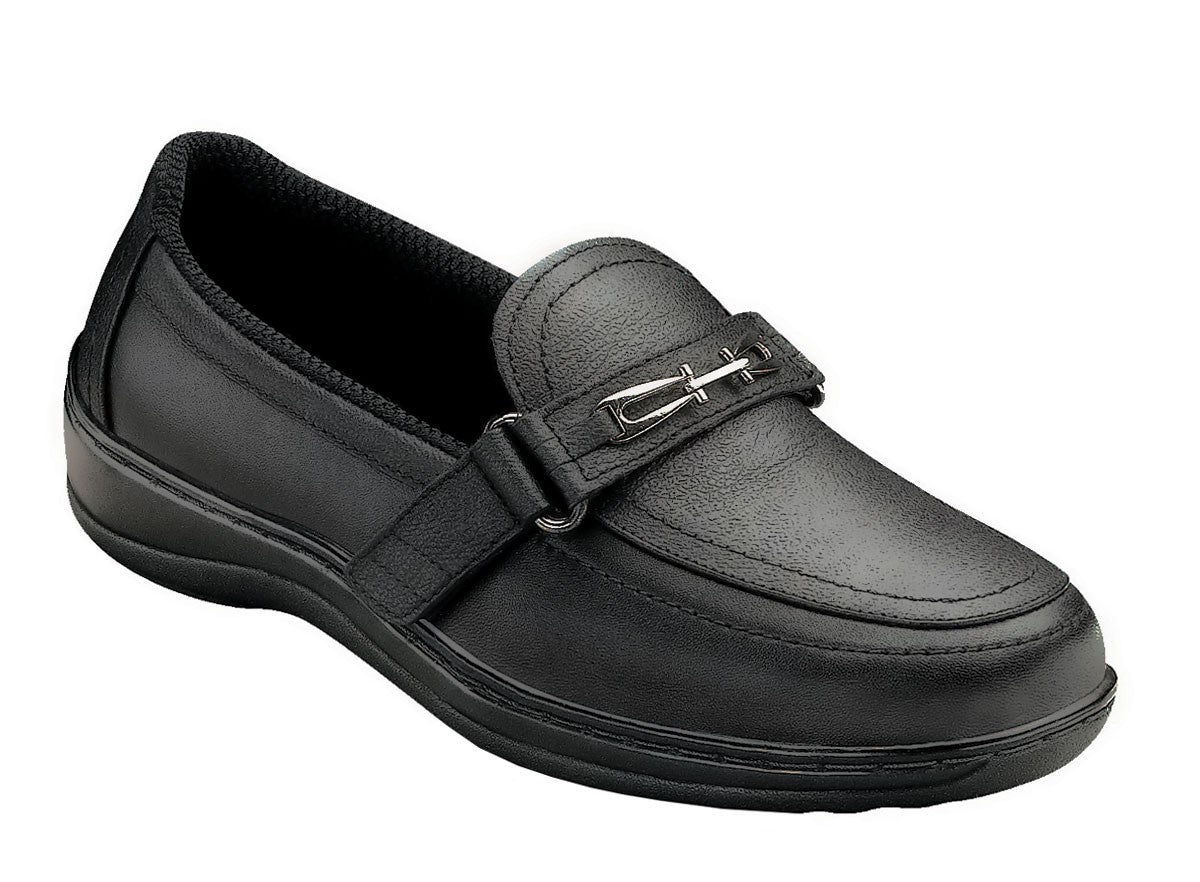
Diabetic footwear is designed with features such as deeper interiors, softer linings, fewer irritating seams, and extra room for inserts or swelling. Those benefits only work when the shoe fits correctly. A careful measurement and a few practical fit checks can help you choose footwear that supports safer, more comfortable movement at home and beyond.
Why Diabetic Shoe Sizing Needs Extra Care
Diabetes can affect circulation, sensation, skin health, and the shape of the foot over time. Some people develop neuropathy and may not feel a hot spot, a seam rubbing the skin, or a pebble inside a shoe. Others deal with edema, bunions, hammertoes, corns, or changes following surgery. A size that worked years ago may no longer provide the clearance your feet need.
Length matters, but width and depth are just as important. A shoe can be long enough while still squeezing the ball of the foot or pressing on the top of the toes. Conversely, a shoe that is overly large can let the foot slide forward, creating friction and instability. The goal is a secure fit with room for natural movement, not a loose fit or a tight one.
How to Size Diabetic Shoes at Home
The most reliable home measurement is taken while standing, with weight distributed naturally through your feet. Feet usually become slightly larger later in the day, especially if swelling is common, so measure in the afternoon or early evening whenever possible.
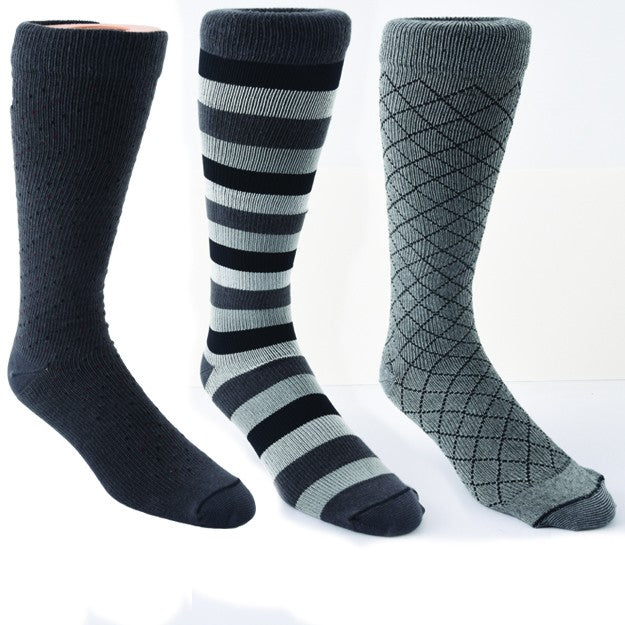
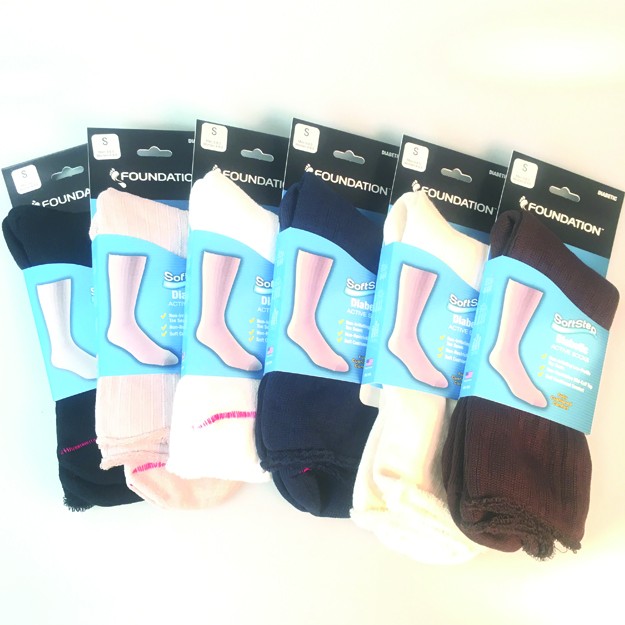
Wear the type of socks you expect to wear with the shoes. For many people, that means clean, smooth diabetic socks without bulky seams or restrictive elastic. Avoid measuring barefoot if you will normally wear socks, since even a thin sock changes the fit.
Place a sheet of paper on a hard, level floor with one edge against a wall. Stand with your heel gently touching the wall, then mark the tip of your longest toe. The longest toe is not always the big toe. Measure from the wall edge to the mark, then repeat the process for the other foot. Use the longer measurement when selecting a size.
Next, measure width at the broadest part of each foot, usually across the ball of the foot. A flexible measuring tape works well, but a string marked and measured against a ruler can also work. Compare both length and width to the manufacturer’s sizing chart for the specific shoe. Shoe sizing can vary by style and brand, so do not assume every shoe in your usual size will fit the same way.
If your feet differ noticeably in size, fit the larger foot. A qualified health professional may recommend a modification, insert, or other solution for the smaller foot if needed.
Check Foot Depth, Not Just Length and Width
Depth is one reason many shoppers choose diabetic shoes. Extra-depth styles can accommodate swelling, custom orthotics, diabetic inserts, toe deformities, or thicker therapeutic socks without pressing on the top of the foot.
Look at the instep area after putting the shoe on. The upper should rest comfortably over the foot without digging in, stretching tightly, or leaving a deep mark after removal. If an insert is prescribed or included, keep it inside the shoe during every fit test. Removing the insert to make a shoe feel larger can reduce cushioning and change the support the shoe was designed to provide.
The Fit Checks to Do Before Wearing Them Outside
Try on both shoes while standing and walking on a clean indoor surface. Fasten the closures as you would for daily wear. Adjustable hook-and-loop straps, laces, or other secure closures can be especially helpful when foot swelling varies from day to day.
Start with toe room. There should generally be about a thumb’s width, roughly one-half inch, between the longest toe and the front of the shoe. Your toes should lie flat and move freely without touching the end or rubbing the top of the toe box. Do not rely on pressing the shoe’s front from the outside alone, since this can be difficult if sensation is reduced.
Then assess width and heel hold. The shoe should not pinch at the sides of the forefoot, especially around bunions or prominent joints. At the same time, your heel should stay reasonably in place as you walk. A small amount of movement can be normal, but repeated slipping can cause blisters and make walking less stable.
Pay attention to any pressure point right away. A diabetic shoe does not need a long break-in period to become tolerable. Soft materials may relax slightly, but shoes that rub, squeeze, or feel uncomfortable indoors are unlikely to become a safe daily choice. Check the inside with your hand for rough seams, wrinkles, labels, or debris before putting the shoe on.
Choosing the Right Width and Shoe Style
Diabetic shoes often come in multiple widths, which is useful when a standard medium width feels restrictive. Width markings vary, but manufacturers commonly offer narrow, medium, wide, extra-wide, and sometimes extra-extra-wide options. Use the shoe’s own size chart rather than choosing a wide size based only on a feeling of tightness.
A wider option may be appropriate when the forefoot is compressed, the upper bulges outward, or foot swelling is present. However, increasing width does not solve a shoe that is too short. If your toes reach the end of the shoe, choose the correct length first and then find the width that allows the foot to rest without pressure.
Style also affects fit. A walking shoe with an adjustable closure can be a practical everyday choice for fluctuating swelling. A stretch upper may help accommodate sensitive areas, although it should still provide enough structure to keep the foot stable. Sandals and open-back footwear may feel cooler, but they offer less protection from bumps, dropped objects, and skin injury. The best choice depends on your activity level, foot shape, weather, and your clinician’s guidance.
Common Sizing Mistakes to Avoid
One common mistake is choosing shoes based on the size printed in an older pair. Foot size can change with age, weight changes, swelling, arthritis, pregnancy, surgery, and changes in arch shape. Measure again whenever you buy a new style, especially if it has been more than a year.
Another mistake is sizing up several lengths to make room for swelling or a wide foot. Excess length can cause the foot to slide and the toes to grip the shoe while walking. Choose a shoe offered in the correct width or depth instead.
It is also risky to ignore a shoe that feels fine while seated but tight while standing. Body weight spreads the foot, and walking adds motion that can reveal rubbing. Always test the fit on your feet, not just in your hands.
Finally, do not wear a new pair all day immediately. Start with short periods indoors and inspect your feet afterward. Check the tops, bottoms, sides, heels, and spaces between the toes for redness, blisters, cuts, or areas of irritation. If redness does not fade promptly after removing the shoes, stop wearing that pair and seek guidance from your healthcare provider.
When Professional Fitting Is the Better Choice
Home sizing is useful for many shoppers, but some foot concerns call for more individualized help. Consider professional fitting or guidance from a podiatrist, pedorthist, or other qualified clinician if you have a history of foot ulcers, active wounds, severe neuropathy, major foot deformity, amputation, Charcot foot, or custom orthotic needs.
A clinician can help determine whether you need therapeutic shoes, accommodative inserts, or a specific shoe design. If you have been prescribed diabetic footwear, follow the prescription details rather than substituting a similar-looking style. Proper fit is part of protecting your mobility and reducing avoidable pressure on vulnerable areas.
When you are comparing diabetic shoes online, keep your measurements nearby and review the product’s width, depth, closure type, and insert compatibility. If you are uncertain between sizes or need help matching a shoe to swelling, orthotics, or a particular foot shape, the US-based product specialists at American Quality Health Products can help you make a more confident choice.
A well-fitted diabetic shoe should feel supportive from the first steps, with no rubbing, crowding, or guesswork. Taking a few extra minutes to measure both feet and test the fit can help protect comfort, confidence, and everyday independence.


